How to create certificates
Institutes may have various kinds of certificates which they used to provide to the Students and the Employees for any of the particular reasons.
In order to generate the certificates, the Admin or the privilege user needs to create a certificate template in the Certificate Generator Module inside the Fedena.
The steps which needs to performed by the user to create the certificate template is as follows:
Step 1: Goto Menu > Academics > Certificates

Step 2: Click on Certificate template option to create the template.

Step 3: Click on New button.

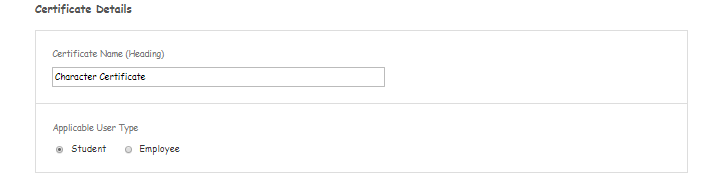
Step 4: Enter the certificate details as
Enter the name of the certificate in the Certificate Name text field.
Select the user from the Applicable User Type as Student or Employee by clicking on the respective radio button.
Select the Certificate Serial Number type as Enter Manually while generating or Auto Generate by clicking on their respective radio button.
If the user selects Manual generation, then at the time of generation of certificate the user needs to fill the certificate number manually.
If the user selects Auto generate option, then the certificate number will get generated automatically by auto incrementing the serial number ‘1’ with the prefix which is entered in the serial no prefix text box.

Select the Resolution from the drop down as A4 or Landscape in which you want to generate the certificate.
Upload the Background Image on which you want to take the print of the certificate from the system.

Enter the layout spacing of the certificate which should be according to the background image to maintain the alignment of the certificate.

Select the Barcode generator for the selected entity from the drop down.
Select the orientation of the barcode as Horizontal, Left Vertical or Right Vertical from the drop down.

Select the User Photo Style-Front as Square or Circle by clicking on that particular radio button which can be shown in that particular shape in the certificate.
Enter the dimension of the certificate.

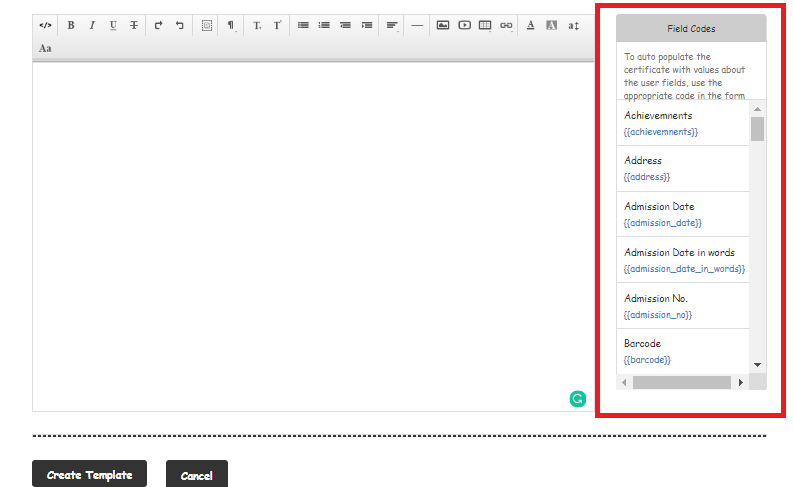
Enter the certificate content by adding the field codes in the text editor area.
The field codes helps here to fetch the desired value which is present in the system with respect to the selected user while generating the certificate.
To add the field codes in the text area, the user needs to copy the exact same character from the field code box and paste it into the text area where it needs to be displayed on the certificate.
User can also drag and drop the character from the field codes into the editor area.
If a user needs to add any custom field which needs to be shown on the certificate, the user needs to create that custom field by clicking on the Add Custom Field option.

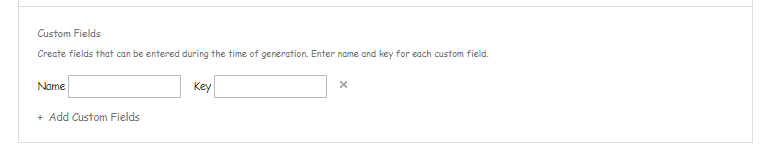
Give the Name of the custom field.
Enter the key of the custom field thorugh which data can be fetched on the certificate.
To add the custom field in the editor, enter the key prefixed with ‘custom’ within 2 curly braces as given below.
Example
Name: Student Character
Key: character
Field code to be used: {{custom_character}}
For Eg:

Fig 1
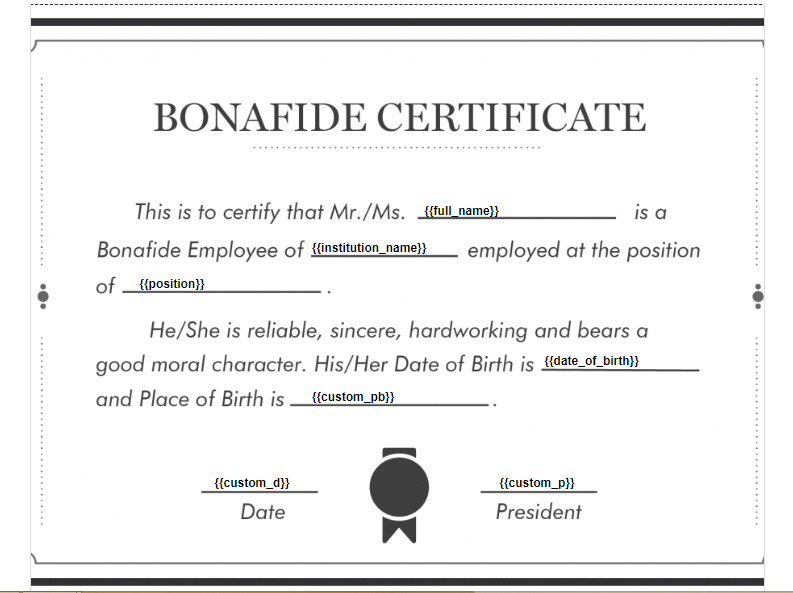
Fig 2
Step 5: Click on Create Template option to save it.
Was this article helpful?
That’s Great!
Thank you for your feedback
Sorry! We couldn't be helpful
Thank you for your feedback
Feedback sent
We appreciate your effort and will try to fix the article